
A Simple, Gentle Teaching Technique Every Parent Can Use
Have you ever tried to teach your child something — a colour, a shape, a word — and felt like no matter how many times you said it, it just wasn’t sticking? And then you started to wonder: is it me? Is it them? Am I doing something wrong?
First of all — you’re not doing anything wrong. Learning, especially for young children, simply doesn’t work the way most of us were taught to teach. It isn’t a one-way street where we say the thing, and they know the thing. Actually it’s a journey — a back-and-forth, a gentle loop that takes time, repetition, and the right kind of invitation.
The Montessori Three-Period Lesson is one of the most beautiful tools ever designed for that journey. It’s a simple three-step teaching method that respects how children actually learn — without pressure, without testing, without anxiety. And the wonderful thing is that once you understand it, you will start seeing it everywhere. Not just in the classroom, but at the dinner table, in the garden, at bedtime.
Let’s break it down — simply, clearly, and with plenty of real-life examples you’ll immediately recognise.
Where Did the Three-Period Lesson Come From?
The Three-Period Lesson was not invented by Dr. Maria Montessori — she adapted it from a French physician and educator named Edouard Seguin, who developed it in the 1800s while working with children who had been written off by the educational system of his time.
Dr. Montessori saw in Seguin’s method something powerful and universal. She refined it, brought it into her classroom, and made it the backbone of how Montessori teachers introduce new concepts to children. Over a century later, it remains one of the most effective and humane teaching techniques in early childhood education.
The idea is simple: before you can expect a child to recall something independently, they need to first hear it, then recognise it, and only then produce it. These three stages mirror exactly how the brain builds and consolidates new memories — and when we skip steps or rush ahead, that’s usually when children (and adults!) get confused, frustrated, or shut down.
The Three Periods — Explained Simply
Think of the Three-Period Lesson like planting a seed, watering it, and then watching it bloom. You can’t rush any stage. But when you give each one its proper time, something wonderful grows.
Period 1: "This Is..." — Introducing
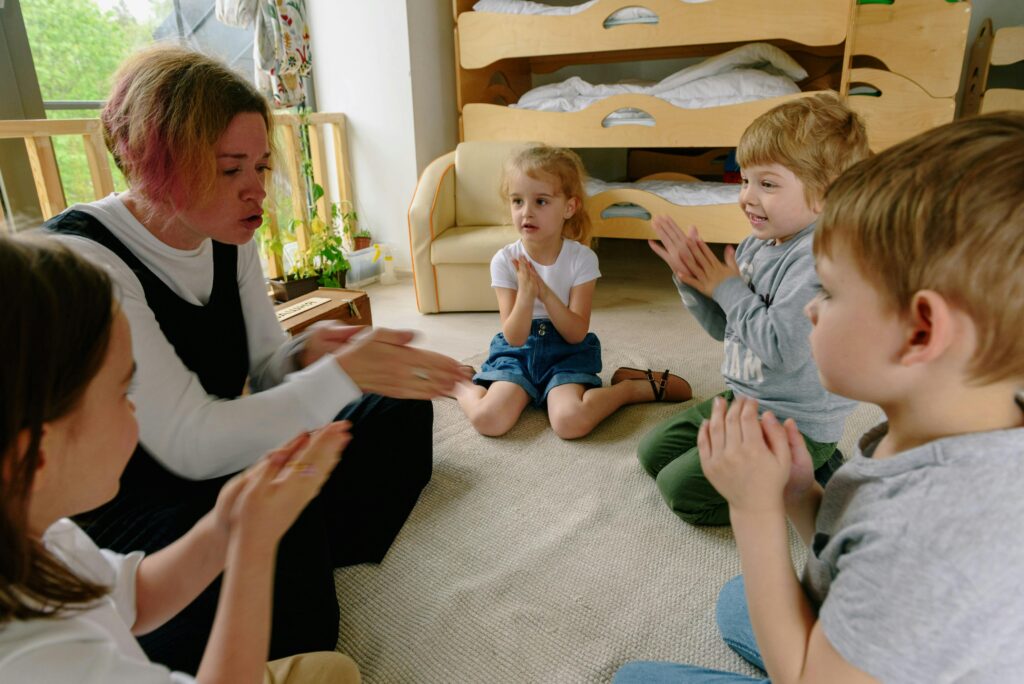
This is the introduction stage. You name something clearly and simply while the child experiences it directly — through their hands, eyes, or ears. The child is not expected to say or do anything except absorb. There is no right or wrong here. No pressure at all. You are simply planting a seed.
What you say: “This is rough. This is smooth.” — “This is red. This is blue.” — “This is the circle.”
Period 2: "Show Me..." — Recognising
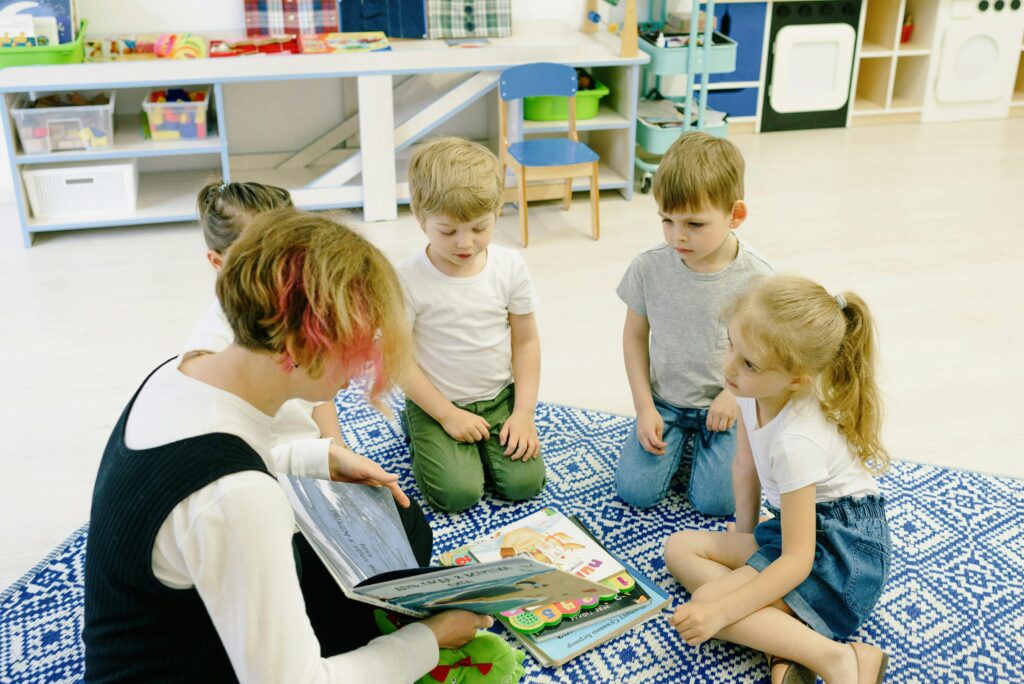
Now you invite the child to show you what they remember — but without making them speak. You ask them to point, fetch, touch, or place. Because you are not asking them to produce a word yet, the pressure is lifted. Most children love this stage. It feels like a game, not a test. And importantly, if they get it wrong, there is no failure — you simply go back to Period 1 naturally and gently.
What you say: “Can you show me the rough one?” — “Where is the blue one?” — “Can you put the circle in my hand?”
Period 3: "What Is This?" — Recalling
Only now — when you sense the child is confident and ready — do you ask them to produce the word themselves. This is the recall stage. It might come quickly, or it might need days, weeks, or more time in Period 2 first. And that is perfectly fine. The child is never wrong for needing more time. You simply return to an earlier period without any fuss.
What you say: “What is this?” — “What colour is this one?” — “What shape is this?”

💛 The Most Important Thing to Remember: If a child gets Period 3 wrong, do NOT correct them. Simply smile, return the object, and say ‘Let’s look at this one again.’ Then go back to Period 1. There is no failure in the Three-Period Lesson — only more time needed.
Everyday Examples You'll Immediately Recognise
The magic of the Three-Period Lesson is that once you understand it, you realise you can use it anywhere — not just with Montessori materials, but in real life, every single day. Here are a few examples that will feel very familiar:
🍎 Teaching Fruit Names at the Kitchen Table
|
Period 1: Introduce |
Hold up an apple and say: ‘This is an apple.’ Then hold up a banana: ‘This is a banana.’ Let your child touch them, smell them, hold them. |
|
Period 2: Recognise |
‘Can you give me the apple?’ Your child picks it up and hands it to you. ‘Can you put the banana on the chair?’ They do it — no words needed yet. |
|
Period 3: Recall |
Hold up the apple: ‘What is this?’ Your child says ‘apple!’ (or maybe ‘app-ul’ — and that counts completely). |
🎨 Learning Colours with Crayons
|
Period 1: Introduce |
Pick up a red crayon: ‘This is red.’ Pick up the blue one: ‘This is blue.’ Let your child hold each one while you say the name. |
|
Period 2: Recognise |
‘Can you find the red one?’ or ‘Give me the blue one.’ Your child searches and picks — no pressure to say the word. |
|
Period 3: Recall |
Point to the red crayon: ‘What colour is this?’ Now they tell you. If they’re unsure, no big deal — back to Period 2 for another round. |
🌿 Exploring Nature on a Walk
|
Period 1: Introduce |
Pick up a leaf and a stone: ‘This is a leaf. This is a stone.’ Let your child feel both in their hands. |
|
Period 2: Recognise |
‘Can you drop the leaf?’ ‘Can you throw the stone?’ Or: ‘Which one is the stone? Show me.’ |
|
Period 3: Recall |
Hold up the leaf: ‘What is this?’ Your child says ‘leaf!’ — and they mean it, because they’ve held it, felt it, thrown it, and lived it. |
💡 Notice Something? None of these examples require any special equipment. The Three-Period Lesson works with whatever is right in front of you — because learning happens in life, not just in classrooms
What Makes This Different From How Most of Us Were Taught?
Most of us grew up in classrooms where teaching looked like this: the teacher said something, wrote it on the board, and then tested whether you remembered it. If you got it right, great. But if you got it wrong, you felt embarrassed, maybe even a little stupid.
The Three-Period Lesson is built on a completely different belief — that children are not empty vessels waiting to be filled. They are active learners who need time, repetition, and the freedom to get things wrong without consequence.
Here is what makes the Three-Period Lesson genuinely different:
- No performance pressure — the child is never put on the spot until they are ready
- Never say wrong answers — if a child struggles at Period 3, you simply return to Period 2. No correction, no disappointment
- Child-led pacing — you move to the next period only when the child shows confidence, not when you feel impatient
- Multi-sensory — the child touches, moves, and interacts with what they are learning, not just hears about it
- Short and focused — a typical lesson uses only 2–3 concepts at a time, so the child is never overwhelmed
- Joyful — at Period 2 especially, children giggle, rush to show you the right answer, and ask ‘again, again!’ It feels like a game because it is
What If Your Child Gets Stuck?

This happens to every child, with every concept, at some point. And it is completely normal.
If your child hesitates or gives the wrong answer at Period 3, here’s exactly what you do:
- Stay completely calm — your tone and expression matter enormously. A frown or a sigh tells the child they’ve failed. A smile says ‘we’re still playing’
- Do not say ‘no’ or ‘that’s wrong’ — instead, gently pick up the object and say ‘let’s look at this one again’
- Return to Period 1 — reintroduce the concept as if for the first time, no big deal
- Try Period 2 again — maybe a different activity: ‘Can you put the rough one on your head? Can you give me the smooth one?’
- Leave it for the day — sometimes the best thing you can do is pack up the material, have a snack, and come back tomorrow. Sleep genuinely helps consolidate memory
- Never push — a child who is pushed past their readiness shuts down. A child who is given time blossoms
💚 Remember: The Three-Period Lesson has no timeline. Some children move through all three periods in one session. Others need a week at Period 2 before they are ready for Period 3. Both are completely normal. Both are completely fine.
Montessori Materials That Work Beautifully With the Three-Period Lesson
.
While the Three-Period Lesson can be used with everyday objects — fruits, clothes, leaves, kitchen items — Montessori materials are specifically designed to make each lesson clear, purposeful, and deeply engaging. Here are some of the best:
For Sensorial Learning — Sizes, Textures, Dimensions
- Long Rods (Red Rods) — Perfect for a Three-Period Lesson on length. Period 1: ‘This is long. This is short.’ Period 2: ‘Can you show me the long one?’ Period 3: ‘What is this one?
-
- Spindle Boxes — Introduces quantities and the concept of zero beautifully. Use the Three-Period Lesson to build from ‘this is one’ to ‘how many are here?’ gently and at the child’s pace.
For Language and Literacy
- Sandpaper Letters — The classic Three-Period Lesson material for letter sounds. Period 1: trace and say the sound. Period 2: ‘Show me the sss.’ Period 3: ‘What sound is this?’ Gentle, tactile, and unforgettable.
- Counter Cards and Counters — Ideal for building number vocabulary through the three periods. Children place counters, recognise quantities, and eventually name them independently — without a single moment of pressure.
For Maths — Number and Quantity -
- Number Rods — A direct Three-Period Lesson material for quantities 1–10. The child handles real rods, hears the names, finds them on request, and finally names them independently — maths through the whole body.
- Constructive Triangles — Wonderful for a Three-Period Lesson on shape names and geometry. Children construct, compare, and name shapes through hands-on exploration — language and spatial reasoning together.
For Practical Life — Real World Vocabulary
- Dressing Frames — Use the Three-Period Lesson to teach vocabulary like ‘button’, ‘zip’, ‘buckle’, ‘fasten’ — real words for real actions, built through touch and repetition rather than flashcards.
- Metal Insets — Teach geometric shape names through the three periods while the child traces, feels, and works with each inset. Language and fine motor development in one beautiful lesson.
🛒 Shop All Materials: All materials linked above are available at https://kiransaifmontessori.com/montessori-material/pk — authentic, non-toxic, and crafted to support genuine Montessori learning at home and in the classroom.
Can I Really Do This at Home? (Yes, You Can)
It works for children from around 18 months all the way through primary school and beyond. With younger toddlers, keep Period 1 very short and spend most of your time in Period 2 — that’s where they thrive. With older children (4–6 years), you can move through all three periods more fluidly in a single session.
For young children, aim for five to ten minutes maximum. For older children, up to fifteen. Short and sweet is always better than long and thorough in Montessori. The child should always finish wanting more — never feeling like they’ve had enough.
That’s wonderful — let them! Some children will pick up an object and name it spontaneously without needing any of the formal stages. Follow their lead. The Three-Period Lesson is a guide for you, not a rigid script for them.
Absolutely. Some of the most powerful Three-Period Lessons are around emotional vocabulary. Show your child a picture or expression of ‘happy’ and ‘sad.’ Let them recognise each. Then help them name what they feel. It’s a gentle, non-threatening way to build emotional literacy — one of the most important skills of all.
The Lesson Underneath the Lesson
There is something deeper in the Three-Period Lesson than teaching vocabulary or concepts. It is a way of being with a child — of saying, with every interaction, I am not in a hurry. I trust you. I will not push you past where you are. I will meet you exactly where you are, and I will stay there with you until you are ready to take the next step.
Children who are taught this way don’t just learn more. They learn differently — with confidence, with curiosity, with a sense that learning is something joyful that happens to them, not something difficult that is done to them.
And that belief — that learning is a joy, not a test — once planted in a child’s early years, can last a lifetime.
If you would like to explore Montessori materials that make the Three-Period Lesson even more powerful and engaging, visit our shop at KS Montessori. Every material there has been chosen with this exact purpose in mind: to make learning feel like the natural, joyful, extraordinary thing it is.
Explore Montessori materials: ksmontessori.com.pk